

Setting up your helmet-mounted night vision involves more than just attaching night vision goggles. A well-prepared night vision helmet setup can significantly enhance your operational effectiveness in low-light environments. This guide will walk you through the tactical helmet accessories that can be mounted to optimize your night vision capabilities.
Choose the Right Helmet: BALLISTIC VS. BUMP
The first thing you must decide is whether to buy a ballistic or non-ballistic night vision helmet. If your main priority is just coyote or boar hunting, you can save a ton of money by purchasing a non-ballistic or “bump” helmet.
As its name implies, a bump helmet does not protect you from small arms threats or fragments, it is designed to prevent injury upon blunt impact on the head. The advantages of bump helmets include lightweight, flexible fit, and ventilation to allow for better airflow.
Ballistic helmets tend to be heavier than bump helmets because they have more layers to establish ballistic protection. They also possess rails and connectors for communication technology. Ballistic helmets are suited for military duties, police officers, law enforcement, and tactical applications. There are different levels of protection provided by ballistic helmets, so ensure you choose a helmet tested to the threat rating you need for your night vision helmet setup.
Helmet Rails
Modern tactical helmets feature integrated rail systems (often Picatinny or similar) on the sides, front, and sometimes rear. These rails allow for the attachment of a wide range of gadgets, enhancing your helmet’s versatility for night vision accessories.
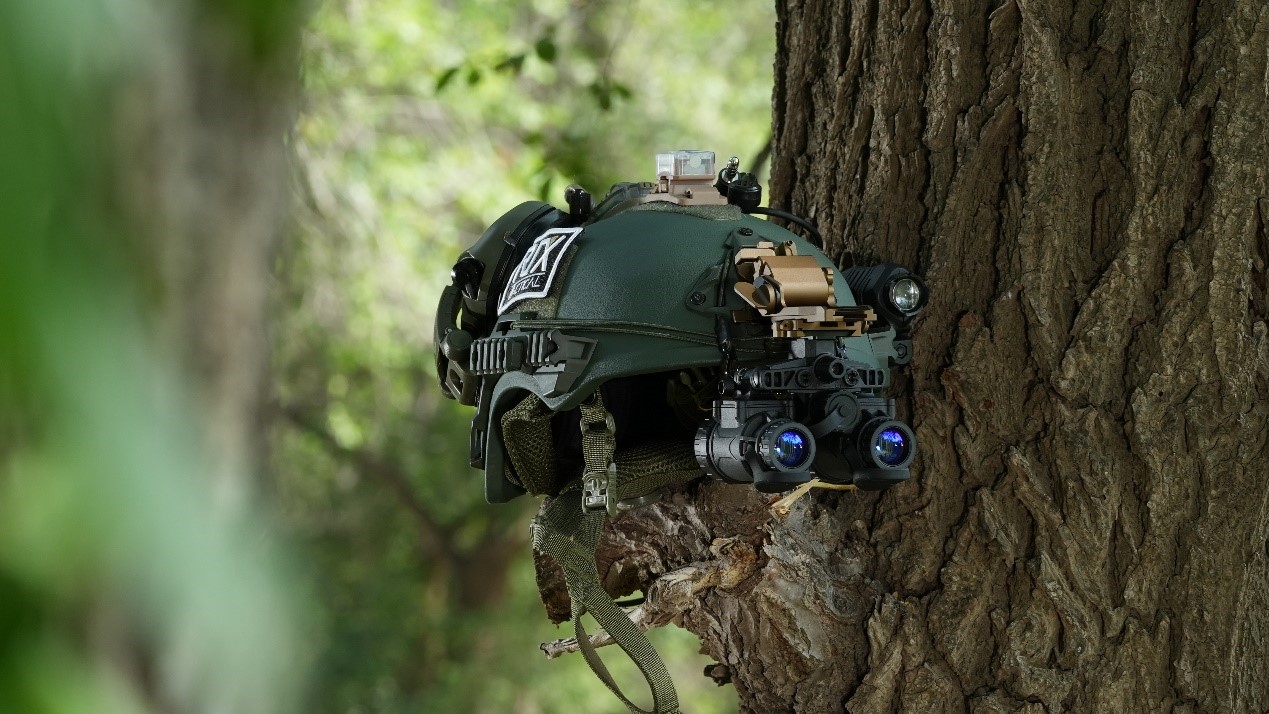
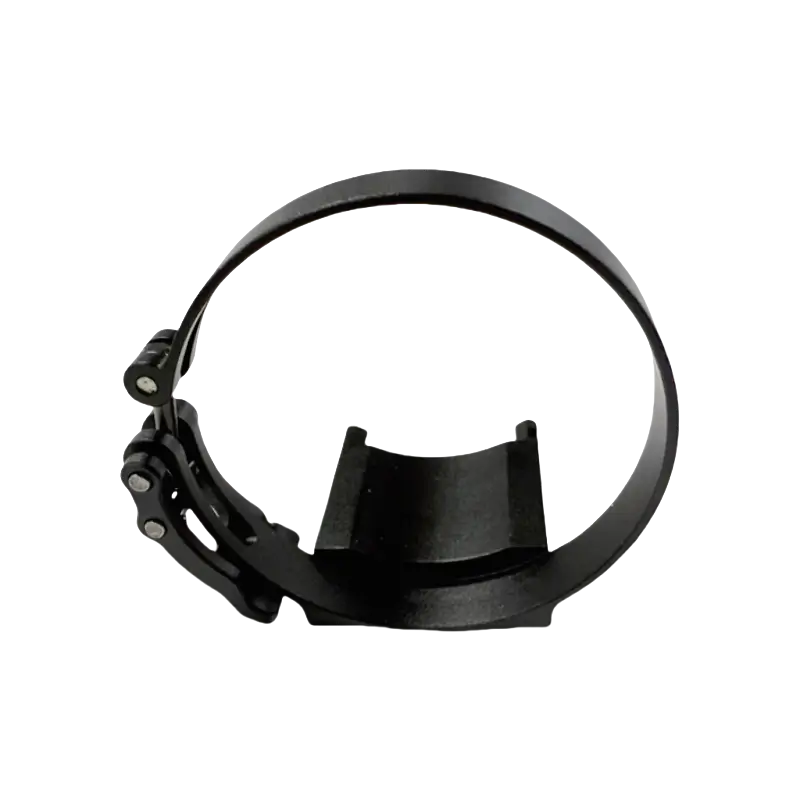
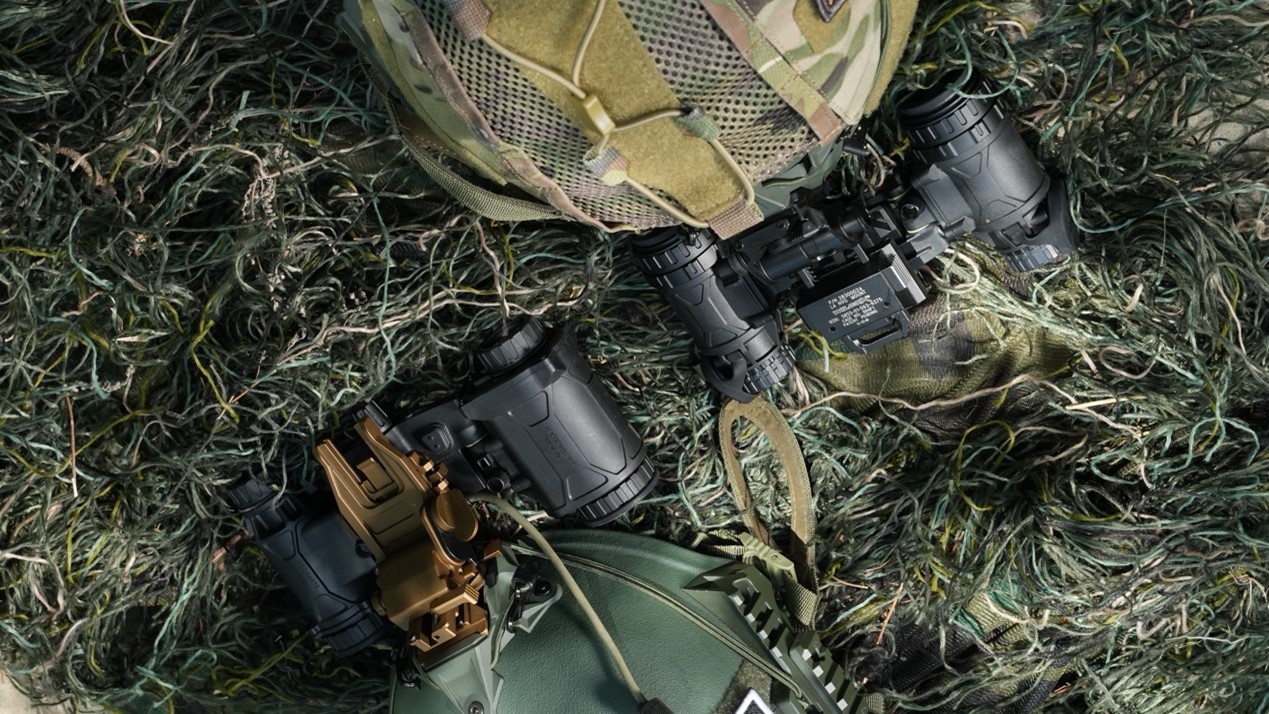
Shrouds, Mounts and Arms
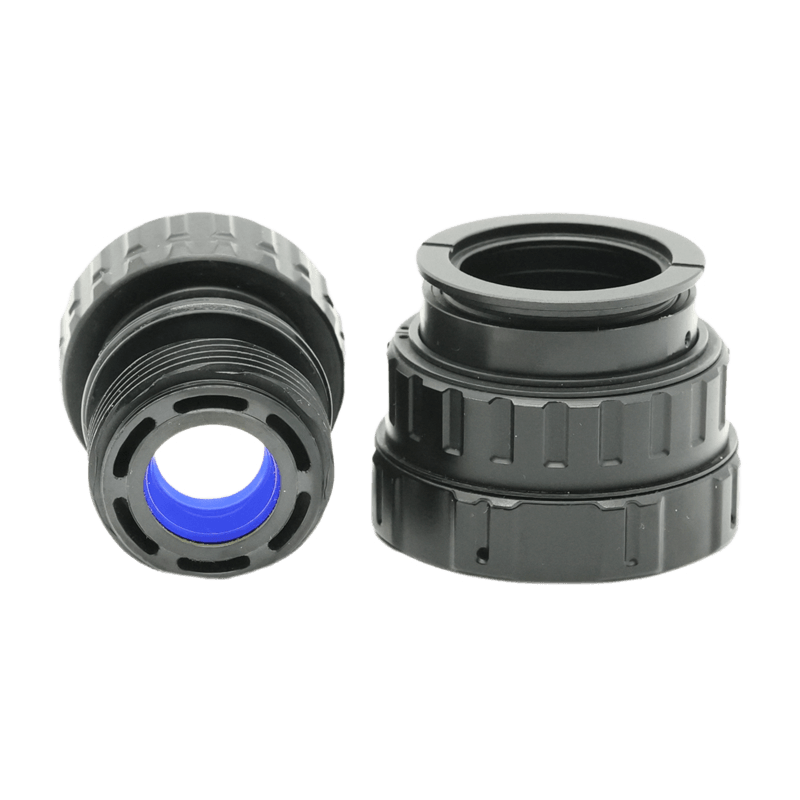
The next thing to consider is the shroud on the front of the helmet. It allows you to attach goggles and keep them securely in place. Most modern helmets use a three-hole shroud. Some shrouds can be strapped or clipped to the helmet. Whichever shroud you choose, make sure it’s compatible with the NVG helmet mount you’re using or that you have the appropriate adapter.
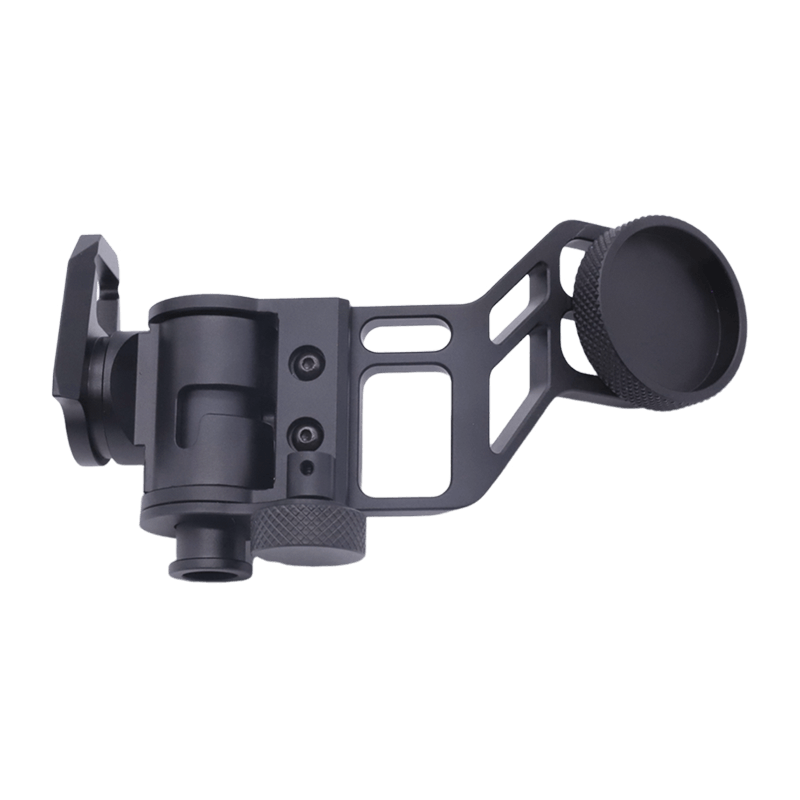
The mount is a pivoting armpiece that locks into the shroud. It allows you to flip up your helmet-mounted night vision device when not in use, and it can also adjust the eye relief by extending further or retracting closer to your eye.
J-Arm is the last piece of the mounting setup if you’re using a night vision monocular. It screws into the monocular’s body housing and can allow the monocular to be swung away from the user’s eye for temporary use.
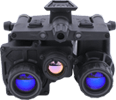
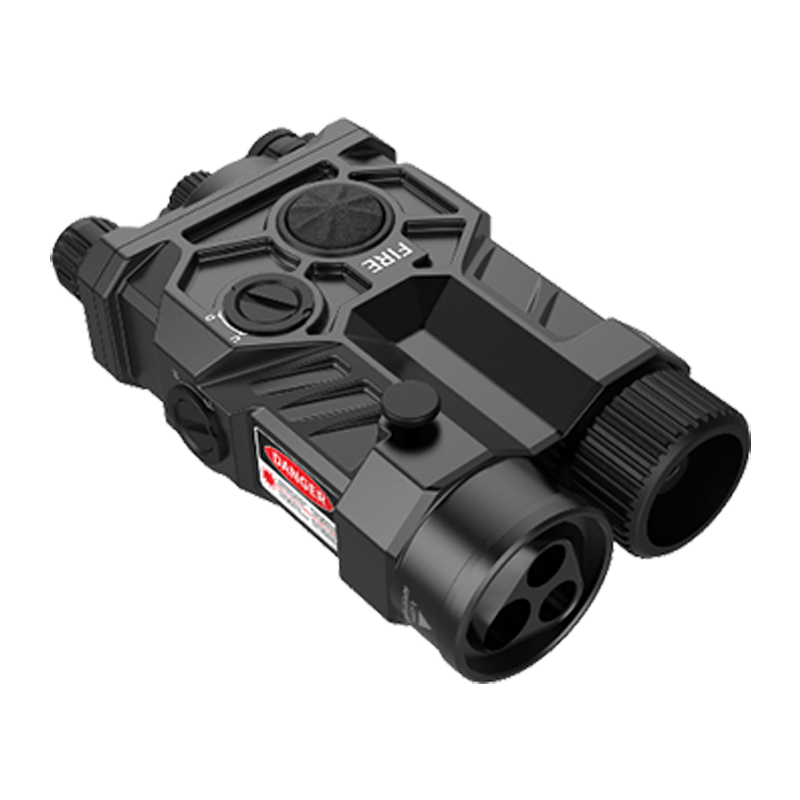
Select Helmet Mountable Night Vision Goggles
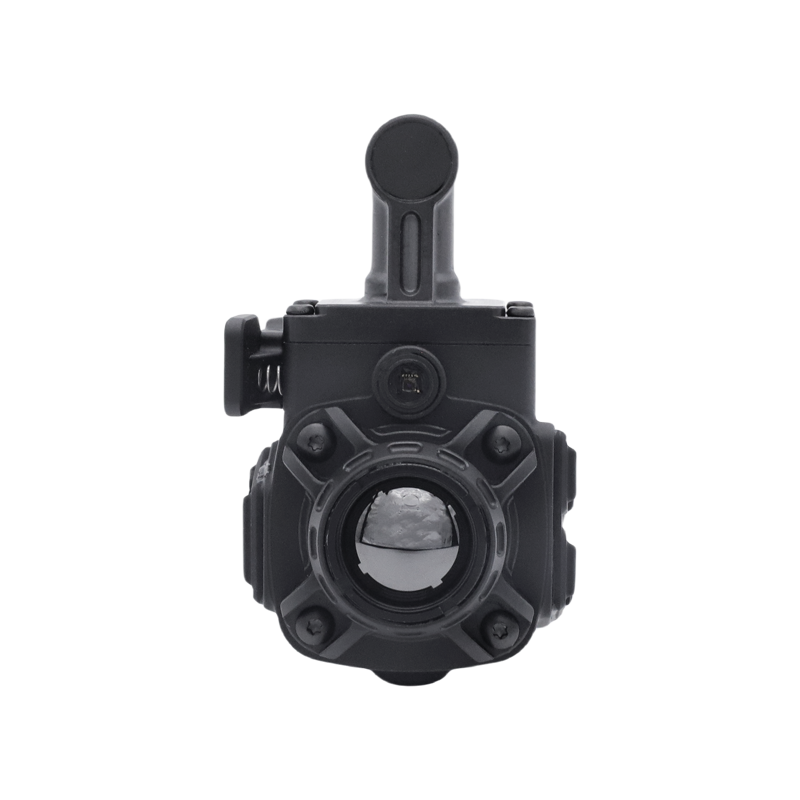
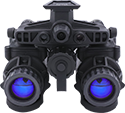
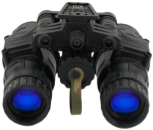
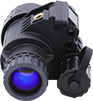
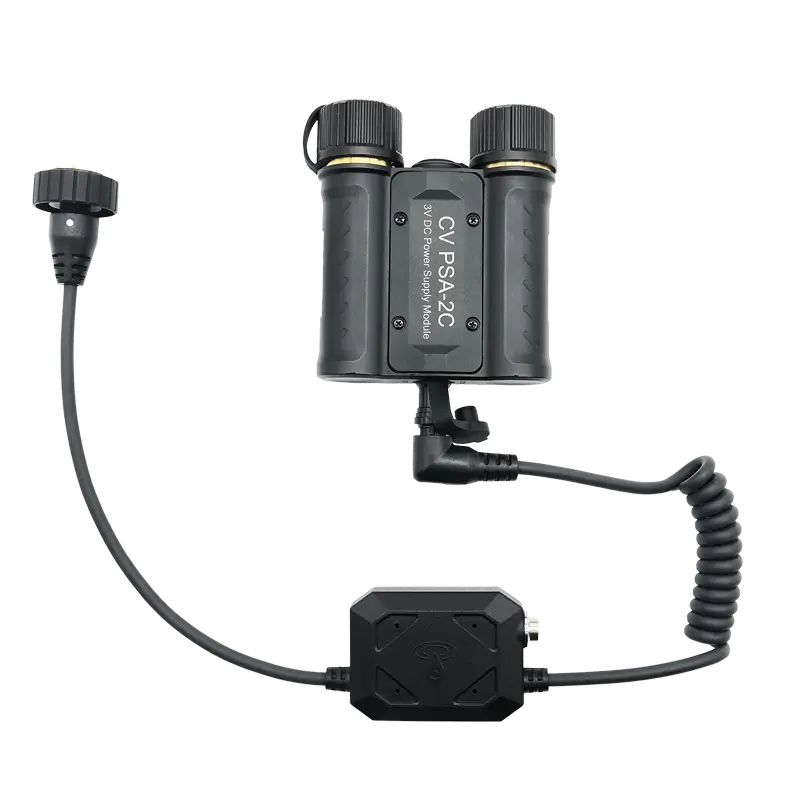
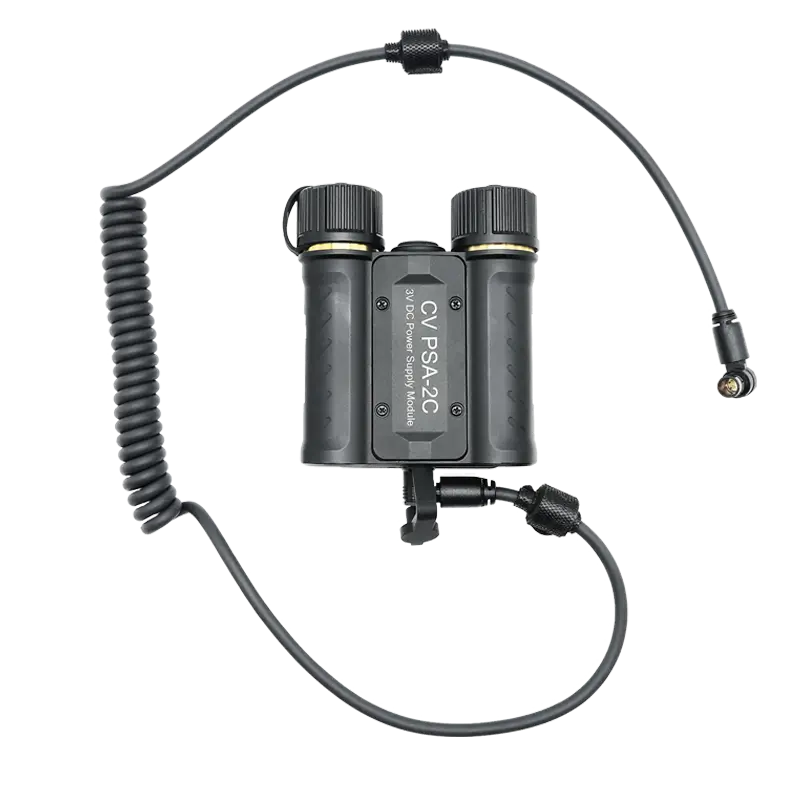
The heart of your setup is the device itself. There are various types of choices, including night vision monocular and binoculars, each with different features and performance levels. The choice depends on your specific needs and budget.
We proudly suggest you equip yourself with RIX Tactical NVGs. They can be your ultimate solution for unparalleled night vision helmet setups. Our range includes affordable night vision monocular, binoculars, and clip-ons designed to meet the demands of tactical professionals and outdoor enthusiasts alike.
Suspension Systems
The helmet suspension system (i.e. the strap around the head and chin) is often overlooked, but it is key to long-term wear and comfort. The old-fashioned strap design (only chin strap) makes the helmet wobble on top of your head. When you mount an NVG, it naturally tips forward and a single chin strap does little to stop this. The right offering should include a nape strap behind the head, which helps distribute the weight of the helmet and secure it to your head.
Counterweight
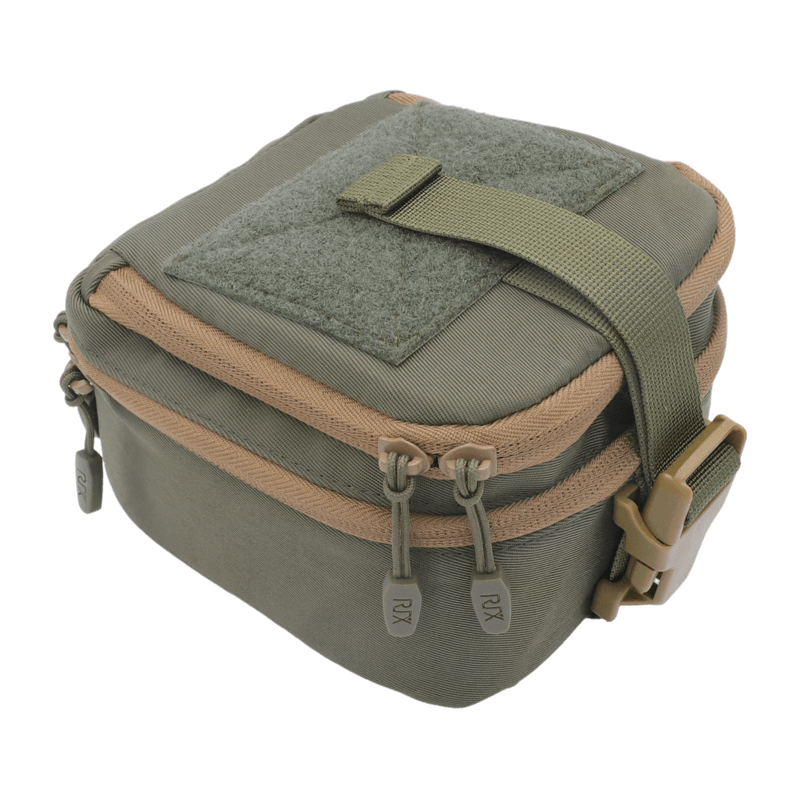
The counterweight is a crucial part of tactical helmet setup, as it can add weight to the rear of the helmet to balance it out when using helmet-mounted night vision goggles. Counterweights improve stability, reduce neck fatigue, and prevent the helmet from tilting forward due to the weight of the goggles.
The counterweight can be homemade or purchased directly from a manufacturer. Most manufacturers use pouches with hook and loop compatibility that fasten to the back of the helmet with velcro. These pouches can also hold ammunition or backup battery packs or for your night vision goggles and act as a counterweight. Be aware that improper weight packs can cause neck strain.
Ear Protection
Good ear protection is crucial for tactical movements. For those with tight budget, our first recommendation is earplugs, which typically cost between $12 and $20, some models offer varying levels of noise reduction. They are easy to carry and quickly deployed.
Electronic hearing protection is a better option, it allows the user to hear surrounding voices and conversations while protecting the ears from damaging sound waves. This is our preferred method of hearing protection because of its ease of use and better overall performance. Entry-level devices of this type typically cost less than $100.
Illumination Options
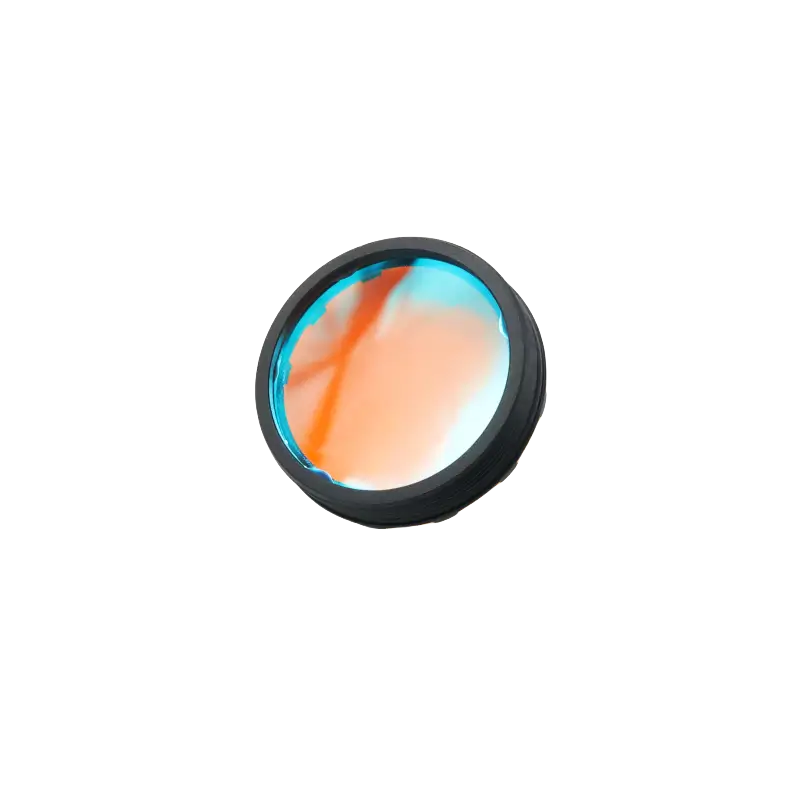
Helmet lights are the perfect addition to tactical helmets. Their purpose is to provide low-level, directional, hands-free navigation lighting. Helmet lights are generally available in a variety of options such as white, red, blue and infrared. White lights are used for close-up work lighting, while other colored lights are used for special tasks (red helps preserve your natural night vision, blue helps identify blood, and infrared lights can be used with night vision goggles).
Conclusion
Setting up your night vision helmet involves careful consideration of a well-configured helmet, equipment compatibility, and proper mounting. By following these guidelines, you can ensure the setup enhances your operational effectiveness and safety in low-light environments. Remember, practice and familiarity with your equipment are key to maximizing its potential.
Comments